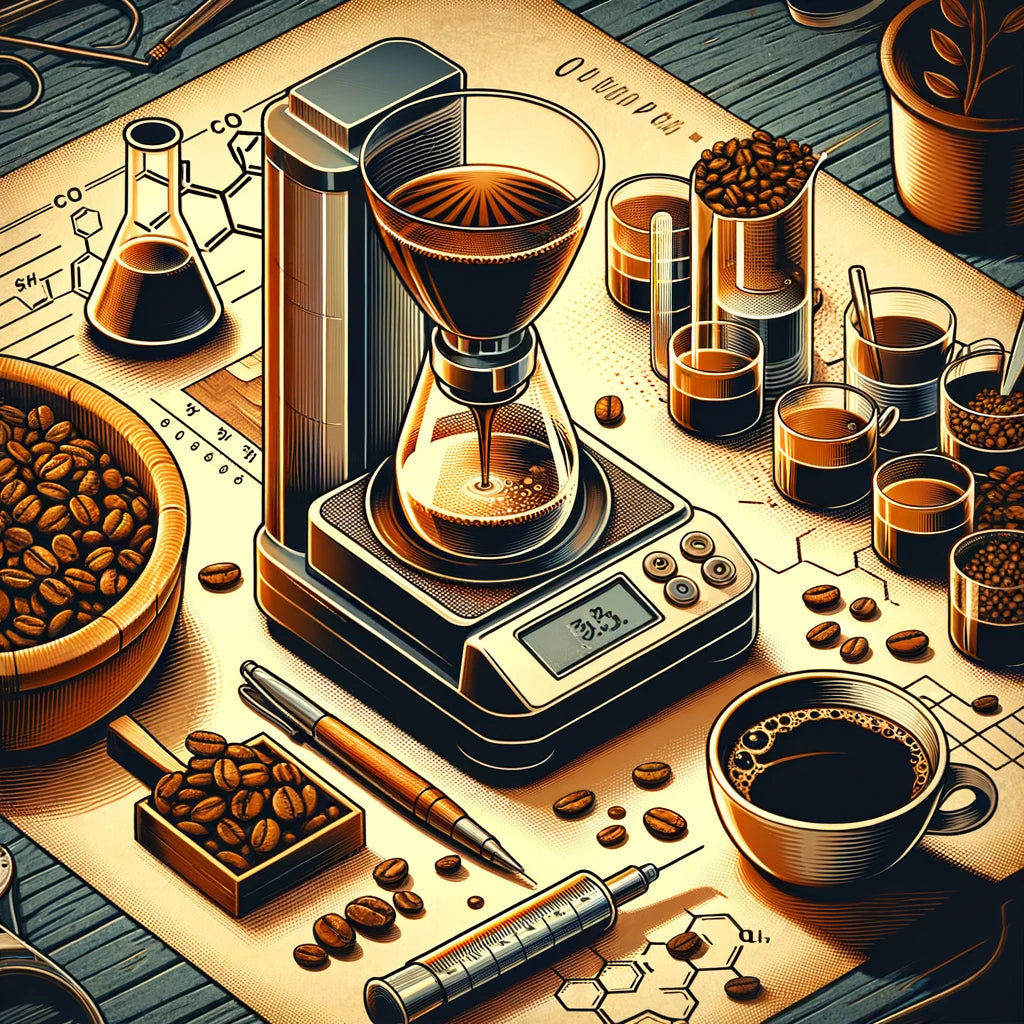
Offering you precise caffeine content is our priority. We set out on a mission to craft the most effective experimental design for your perfect cup. For a brief explanation about what drove us to create Scription Coffee, check out Our Startup Story and read more About Us.
The Equipment
Brewing Machines
In our experiments, we used brewing equipment that is versatile for people who value quality coffee at home and on-the-go. Our current brewing methods include:
- Drip Brewer. We used the SCA-certified OXO 9-Cup Coffee Maker, which has a cone-shaped brewing basket. We used standard conical paper filters.
- Aeropress. We used the AeroPress Coffee Maker - Original with standard AeroPress paper filters.
For more on our rationale for choosing these machines, visit Current and Future Brewing Methods.
Grinders
We test our beans in both whole bean and pre-ground form, but we strongly recommend whole bean for superior quality and flavor. For whole bean, we used the Baratza Virtuoso+, a conical steel burr grinder. For more information about how the grind size and method impacts the brew, visit Our Coffee Brewing Methodology.
Caffeine Analyzer
We use the Lighttells CA-700, which is recognized by the Specialty Coffee Association (SCA) as the first world coffee caffeine/chlorogenic acid (CGA) analyzer. For more information, visit Our Caffeine Analyzer.
The Variables
Achieving the perfect cup means controlling for the perfect harmony across multiple variables. Not only do these variables affect the flavor and experience of your cup of coffee, they all have an impact on caffeine content. That’s why we have gone to great lengths to control for all the below variables in our experiments.
Grind Size
Generally speaking, finer grind sizes extract more quickly, resulting in a stronger and more intense flavor, while coarser grind sizes extract more slowly, producing a milder and less intense flavor. The optimal grind size varies based on the bean, with lighter roasts benefitting from finer grinds, and darker roasts benefitting from coarser grinds.
- Measurement: Measured in Microns. To get a customized grind size chart based on your coffee grinder, check out this awesome free resource - Honest Coffee Guide’s Coffee Grind Size Chart.
-
Tools: Kruve Brewler
Water Type & Temperature
Water is crucial because it makes up more than 90% of your cup of coffee and serves as the solvent that extracts flavors, oils, and soluble compounds from the coffee grounds. Water type can significantly impact the quality of your cup, affecting the extraction process and taste. Water temperature allows for proper extraction of the coffee's flavors and aromas, resulting in a more balanced and enjoyable cup of coffee.
- Use filtered water! For the best results, we recommend using filtered water. Avoid using tap water with excessive mineral content or distilled water, as both can lead to undesirable flavors in your cup of coffee.
- Measurement: Measured in degrees Celsius
-
Tools: Liquid thermometer
Water Contact Time
Water contact time directly affects the extraction rate and overall flavor of the coffee, with shorter contact times resulting in milder flavors and longer contact times producing stronger and more intense flavors.
- Measurement: Timer with precise minutes and seconds.
- Tools: Timer
Water contact time is relevant for both Drip and AeroPress methods. To achieve the best results, we recommend following these guidelines:
- Drip: For drip brewers, water contact time is controlled by the brewer itself, which creates standardization. To achieve the best results, we recommend using an SCA-approved drip brewer and following the brewing instructions here.
-
AeroPress: AeroPress allows for a high level of customization with regards to water contact time, depending on which AeroPress recipe you use. To standardize water contact time across our AeroPress experiments, we used James Hoffmann’s Ultimate AeroPress Technique, further detailed here. Per Hoffmann’s experiments and our own, caffeine extraction plateaus after approximately two minutes of contact time. Our recommended time is 2:30. If you decide to brew for longer than this, it's unlikely to significantly increase caffeine extraction. However, we cannot guarantee the exact outcome, and we recommend sticking to our recommended method for precise and consistent results.
Ratios
Ratios (coffee to water) directly affect the caffeine content, extraction, and flavor profile of the coffee, as well as the overall extraction and balance of flavors. Achieving the right ratio ensures a well-balanced and enjoyable cup of coffee with precise and consistent caffeine content.
- Measurement: The ratio is measured as the weight of coffee in grams to the volume of water in milliliters. For accuracy, we used a digital kitchen scale to measure coffee and a liquid measuring cup to measure water. You may also choose to measure your water in grams as this is a 1:1 conversion (science fact - the original definition of a “gram” is one cubic centimeter of water which is equal to one milliliter!).
- Tools: Digital kitchen scale, liquid measuring cup
Ratios are relevant for both of our chosen brewing methods. To achieve the best results, we recommend following these guidelines for each of Our Beans and referencing our posts on Drip and AeroPress brewing methods.
Roast Level
Roast level impacts the coffee’s flavor, aroma, and caffeine content. It’s classically said that lighter roasts tend to have higher caffeine content and brighter, more acidic flavors, while darker roasts have lower caffeine content and richer, bolder flavors. However what you will notice when you look at our the data on each of Our Beans, is that the resulting coffee brewed may not necessarily follow this rule of thumb. The roast level also dictates grind size and extraction time and thus the resultant caffeine content. Read more about Caffeine Content here.
- Measurement: Roast level is typically determined by the color of the coffee beans during and after the roasting process. We visually assess the roast level and categorized them into light, medium, and dark roasts based on industry standards. Some of Our Beans are right on the border between one light/medium or medium/dark and that information is included on each product page to better represent the flavors you can expect from each single origin bean.
-
Tools: Visual inspection
Conducting our Experiments
To us, delivering the perfect cup means the coffee we recommend to you must taste delicious and provide precise caffeine content. To achieve this, we conduct our experiments to discover the best brewing method for flavor first, then we test the caffeine content of the resulting coffee.
Taste
First, we brew and taste test each single-origin bean in both whole and pre-ground form. We hold all variables constant and change only a single variable at a time. Next, we select and detail the best brewing instructions for each bean, dialing in the variables to achieve the best flavor.
Caffeine
Once we’ve dialed in the brewing instructions, we test for caffeine content. This involves following our precise brewing instructions for each perfect cup across all beans and grind settings, and testing with Our Caffeine Analyzer to discover the precise Caffeine Content.
Guidance
We combine this information into brief brewing methods and caffeine content, which is what we provide to you. You can then customize how much you want to drink to get the amount of caffeine that is best for you. See this post on why we chose 200mg as a reference standard.
Example: AeroPress
For example, we test each of the following variables for the AeroPress brewing method across every one of the single origin coffee beans that we offer:
- 400microns / 11:200
- 400microns / 12:200
- 400microns / 13:200
- 450microns / 11:200
- 450microns / 12:200
- 450microns / 13:200
- 500microns / 11:200
- 500microns / 12:200
- 500microns / 13:200
This is just a small example of the type of crossover testing that we use to dial in our brews to ensure that when you brew according to our recommendations, we can guarantee an absolutely delicious and precise cup of coffee.
Discussion and Limitations
When measuring the amount of caffeine content in your cup of coffee, it’s essential to consider both the outcomes and limitations of the experiment design. In this section, we will discuss important disclaimers and limitations that can affect the accuracy of caffeine analysis.
Limitation: Input to Output Volume
When you add a certain amount of water (x mL), you may not get the same amount of brewed coffee in return. This difference is influenced by:
- Saturation of the filter: Paper filters absorb some of the water during brewing, which can result in a loss of output volume. To mitigate this, we recommend pre-rinsing your filter paper.
- Saturation of the grounds: Coffee grounds absorb some of the water during brewing, which can result in a loss of output volume.
- Steam: During the brewing process, some water is lost as steam, further reducing the output volume of coffee.
The brewing instructions we provide are based on the input quantity of water (x mL). However, our caffeine analysis is performed on the resultant volume of coffee (y mL). This distinction is essential because brewing with (x) mL of water results in losses along the way.
Example Scenario:
Imagine you use 600 mL of water to brew two mugs of coffee, and this bean yields a coffee with a resultant caffeine content of 70 mg per 100 mL. You might want to calculate that the final pot of coffee contains (70 mg/100 mL) × (600 mL/100) = 420 mg of caffeine. However, this calculation overlooks the losses (z mL) incurred during the brewing process.
Let's break it down using actual numbers:
- You used 600 mL of water, but after brewing, you measure your final pot of coffee and find that you have 570 mL of coffee.
- The coffee beans you used create a resultant coffee with a caffeine content of 70 mg per 100 mL.
To calculate the total caffeine content in your pot of coffee, it’s important to consider the actual coffee volume (y mL):
- 70 mg/100 mL × (570 mL/100) = 399 mg
In this example, the total caffeine in your pot of coffee is NOT 70 mg/100 mL × (600 mL/100) = 420 mg, as you might initially think.
Why this matters
While our goal is to provide you with the most precise information possible, it’s still important to consider these limitations and approach your coffee brewing and caffeine content with even greater accuracy and information. If you haven’t yet, please see our Caffeine Content post.


